|
Plan |
Approx. monthly price* |
Best For |
Key Features |
|
Starter |
Check current pricing |
Selling through social media without a full online store |
Limited storefront, social selling focus |
|
Basic |
$39/mo |
New businesses launching their first online store |
Essential features, basic reporting, 0 additional staff accounts |
|
Grow |
$105/mo |
Growing businesses with consistent sales |
Advanced reporting, up to 5 staff accounts, lower card rates than Basic |
|
Advanced |
$399/mo |
High-volume businesses needing lower transaction fees |
Advanced reports, up to 15 staff accounts, enhanced global and retail features |
How KwikAds helped Shop Unrush boost ROAS by 37% in 3 months
How KwikAds helped Shop Unrush boost ROAS by 37% in 3 months
How KwikAds helped Shop Unrush boost ROAS by 37% in 3 months
How KwikAds helped Shop Unrush boost ROAS by 37% in 3 months
Shopify
How to Start a Free Trial on Shopify
 06 Jun 2026
 09 Min Read
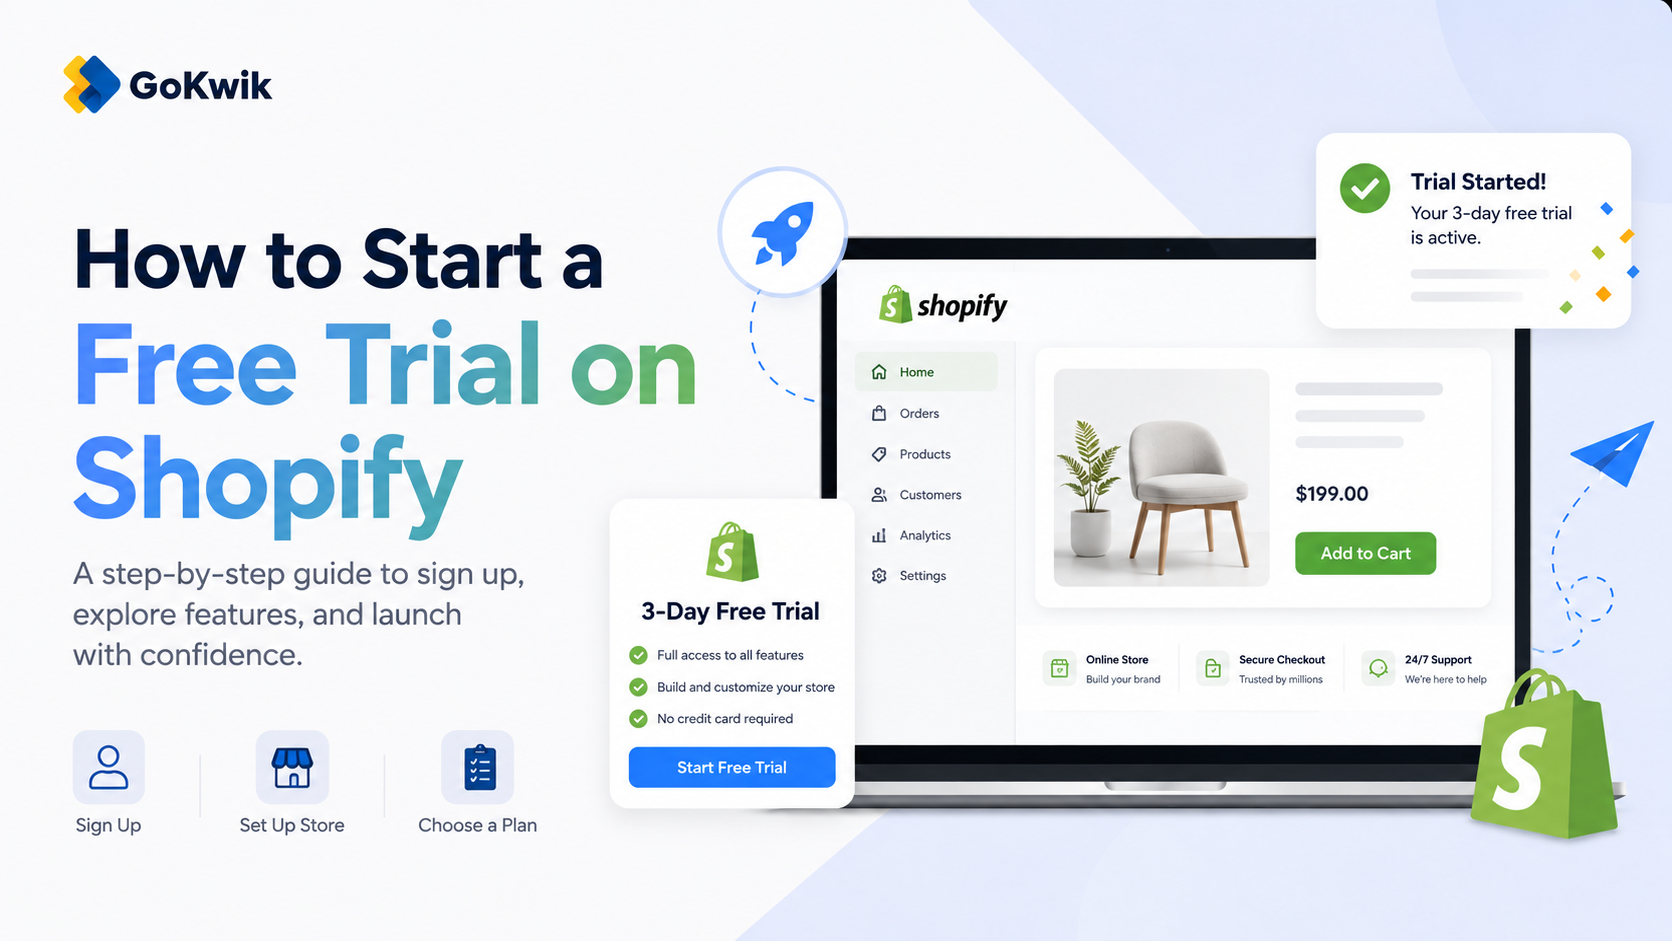
Suhag spearheads D2C growth strategies at GoKwik, focusing on e-commerce optimisation, conversion funnels, and sales enablement. Based in Bengaluru and an MICA alumnus, he excels in crafting GTM playbooks and marketing campaigns tailored for D2C brands.
Read this blog on your favourite platform
Starting your ecommerce journey means choosing the right platform without committing upfront. Shopify’s standard free trial is 3 days, and the trial clock starts when you sign up - not when you begin building your store. This guide walks you through signing up for your trial, completing essential setup steps, and making the most of your trial period to decide if Shopify fits your business.
What You Get with a Shopify Free Trial
Shopify offers a 3-day free trial where you can access most platform features without entering payment information immediately. The trial begins when you first sign up, not when you start working on your store. During your trial, you can build your online store, test themes, add products, and explore the admin dashboard.
Key trial access includes:
- Full access to the Shopify admin
- Free and paid theme previews from the Shopify Theme Store
- Product and collection setup
- Access to apps from the Shopify App Store
- Basic store configuration and customization
- Password-protected store view (your store won't be publicly visible)
You cannot complete live customer transactions during the trial unless you select a paid plan and remove password protection from your store.
Step 1: Visit Shopify and Start Your Trial
Go to Shopify's website and locate the free trial sign-up option. You'll be prompted to enter basic information to create your account.
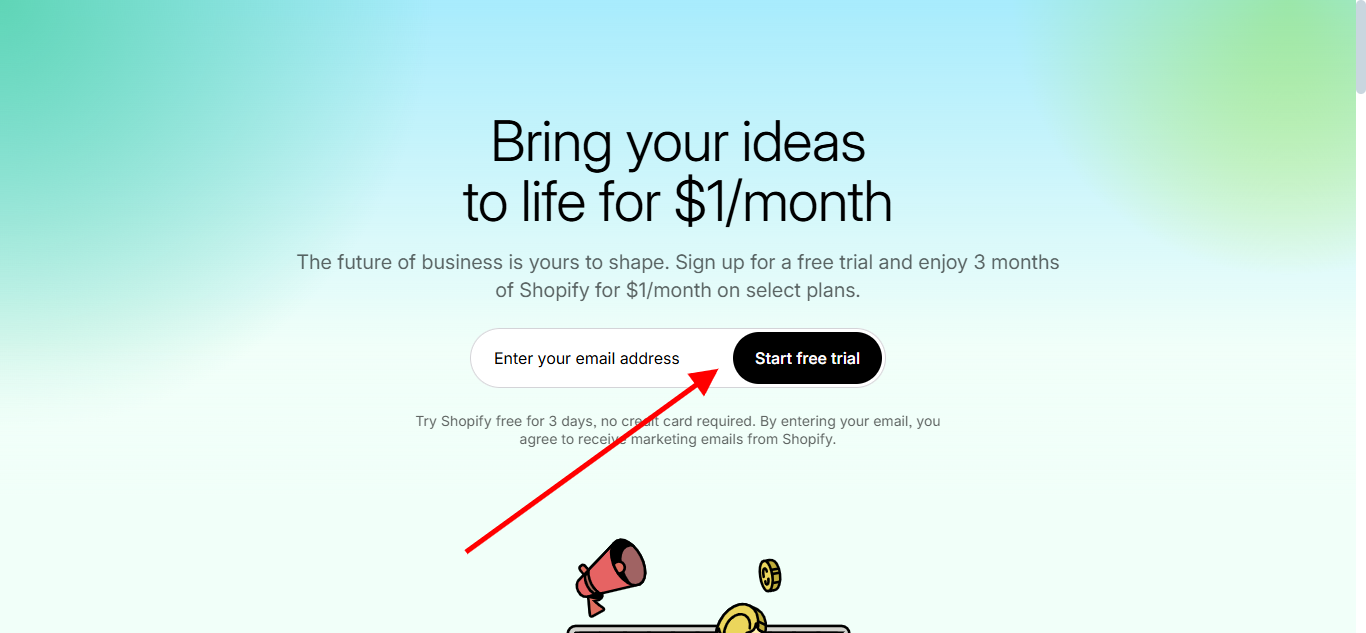 Source: Shopify
Step 2: Create Your Account
Enter your email address to begin. Shopify will guide you through creating your account credentials and initial store settings.
Step 3: Answer Setup Questions
Shopify asks about your business to customize your experience. This includes whether you're already selling, what you plan to sell, and your business structure. These answers help Shopify recommend relevant features and resources.
Step 4: Access Your Store Admin
Once you complete the initial questions, you'll land in your Shopify admin dashboard. This is your central hub for managing every aspect of your store.
Essential Setup Tasks During Your Trial
To make the most of your trial period, complete these foundational tasks that every store needs before going live.
Configure Basic Store Settings
Start by setting up your business information:
- From your Shopify admin, go to Settings
- Click Store details to set your store name and business address
- Set your default currency under store currency settings
- Set your default weight unit for product listings
These basic configurations affect how your products display and how you process orders once you launch.
Set Up Your Domain
Your store domain is the URL where customers find your online store. During your trial, you can either purchase a new domain or connect an existing one.
To buy a new domain from Shopify:
- From your admin, go to Settings > Domains
- Click Buy new domain
- Search for your desired domain name and purchase it
To connect a third-party domain:
If you already own a domain from providers like Google Domains, GoDaddy, or IONOS, you can connect it automatically or manually. Navigate to Settings > Domains and follow the connection instructions for your specific provider.
Choose and Customize Your Theme
Your theme determines how your store looks to customers. Shopify offers both free and paid themes.
To add a free theme:
- Go to Online Store > Themes in your admin
- Click Visit Theme Store to browse available themes
- Select a free theme and click Add theme or Start with this theme
To try a paid theme without buying:
You can preview up to 19 paid themes during your trial. This lets you test different designs with your actual products before committing.
- Visit the Shopify Theme Store
- Choose a paid theme and click Try theme
- The theme loads with your store data
- Click Edit theme to customize it in the theme editor
Paid themes appear on your Themes page with a "Theme trial" label. Any customizations you make are saved if you decide to purchase.
Add Your Products
Adding products is often the most time-consuming setup step. Products require at minimum a title and a price. You can add up to 250 tags per product on standard plans, or unlimited tags on Shopify Plus.
- From your admin, click Products
- Click Add product
- Enter your product title, description, and pricing
- Add product images and organize products into collections
_1779939164.png) Source: Shopify
Source: ShopifyImportant considerations:
- Keep product titles concise with important keywords at the beginning
- Long titles and descriptions may get truncated in search results
- Avoid frequently changing product URL handles as this impacts SEO rankings
Configure Shipping Settings
Set up how you'll fulfill orders and what shipping rates you'll charge:
- Go to Settings > Shipping and delivery
- Configure your shipping zones and rates
- Set up pickup and local delivery options if applicable
Set Up Payment Providers
To accept payments once you launch, configure your payment methods:
- Navigate to Settings > Payments
- Set up Shopify Payments (Shopify's own payment provider) or connect a third-party payment gateway
- Configure your preferred payment methods
Note that if you use a third-party payment provider instead of Shopify Payments, additional transaction fees may apply depending on your plan.
Password-Protect Your Store
During your trial, your store is automatically password-protected. This prevents customers from accessing your store before you're ready to launch. You can customize this password page:
- Go to Online Store > Preferences
- Locate the password protection settings
- Customize the message visitors see
When you're ready to launch, you'll remove this password protection after selecting a paid plan.
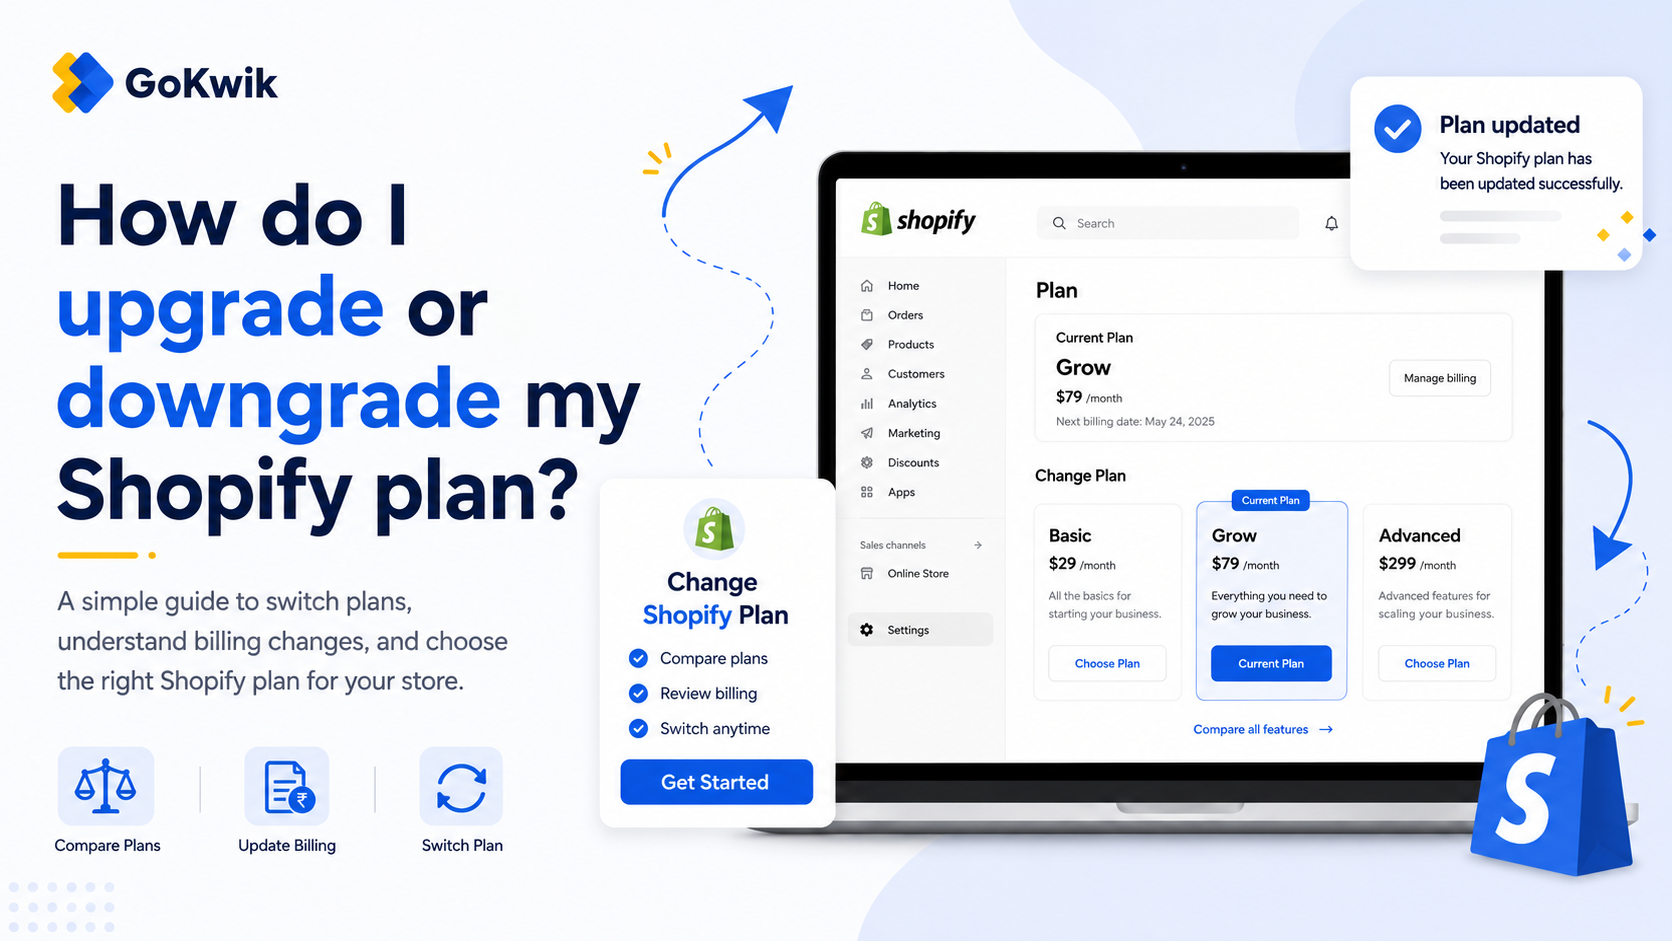
Understanding Plan Options Before Your Trial Ends
Before your trial period expires, you'll need to choose a Shopify plan. The best plan depends on your ecommerce experience and expected sales volume.
*Prices vary by country, billing cycle, and promotions. Check Shopify’s live pricing page before choosing a plan.
When to upgrade between plans:
Higher-tier plans offer lower credit card processing fees. The break-even point depends on your location and whether you use Shopify Payments.
Some third-party estimates place the Grow plan break-even point around $200,000 USD/year when using Shopify Payments, or around $60,000 USD/year when not using Shopify Payments. Treat these as rough examples, not fixed thresholds. Shopify’s card rates, transaction fees, billing cycles, and promotional pricing vary by country and plan, so review the live pricing page and calculate your own break-even point before upgrading.
Trial Period Management
The number of markets you can create depends on your subscription plan. App charges from third-party apps may continue after pausing or deactivating your store until you uninstall those apps, so monitor any apps you install during your trial.
Choosing Your Plan
Only the Starter plan is available exclusively to merchants in their free trial period or those who are new to Shopify. Once you select a different plan, you cannot downgrade to Starter later.
After the 3-day free trial, eligible merchants may see promotional pricing, such as $1/month for the first 3 months, before standard plan pricing begins. Availability can vary by location, plan, and signup timing, so confirm the offer shown in your Shopify admin or on the pricing page.
Billing Setup
Before launching your store publicly, you'll need to add billing information:
- Go to Settings > Billing
- Add your payment method for your Shopify subscription
- Review and approve your plan selection
This billing information covers your Shopify subscription fees, domain renewals, and any paid apps or themes you've added.
Making the Most of Your Trial Period
Focus your trial time on these high-value activities:
Test the checkout flow: Place test orders to understand the complete customer experience from browsing to purchase confirmation.
Explore the App Store: Identify apps that solve specific business needs. Apps can help with email marketing, SEO, inventory management, and customer service.
Review analytics: Even with limited or test data, familiarize yourself with Shopify's reporting interface to understand what metrics you'll track post-launch.
Set up customer accounts: Configure whether customers can create accounts on your store and what information you'll collect.
Customize your checkout: Depending on your plan, customize checkout settings to match your brand and customer service policies.
💡Tip from Reddit Conversations:
Many Reddit merchants recommend not to waste your trial adding a million apps. Pick your theme, add 5-10 products properly, and actually test the checkout flow. You can always add apps later once you know what you actually need."
FAQ
Next Step
Start your Shopify free trial today and complete the essential setup tasks outlined above. Focus on configuring your store settings, adding your first products, and testing the checkout experience before your trial period ends.

AUTHOR
Suhag Vamja
Head of Product Marketing @ GoKwik