|
App Category |
Purpose |
When to Install |
|
Email marketing |
Capture emails and send campaigns |
Before launch to start list building |
|
Conversion optimization |
Reduce cart abandonment, add popups |
Before launch to maximize early traffic |
|
Reviews |
Collect and display product reviews |
Before or shortly after launch |
|
Analytics |
Track visitor behavior and conversions |
Before launch to capture baseline data |
|
Inventory management |
Sync stock across channels |
Before launch if selling on multiple platforms |
How KwikAds helped Shop Unrush boost ROAS by 37% in 3 months
How KwikAds helped Shop Unrush boost ROAS by 37% in 3 months
How KwikAds helped Shop Unrush boost ROAS by 37% in 3 months
How KwikAds helped Shop Unrush boost ROAS by 37% in 3 months
Shopify
How to Set Up Your Shopify Store Before Launch
 06 Jun 2026
 12 Min Read
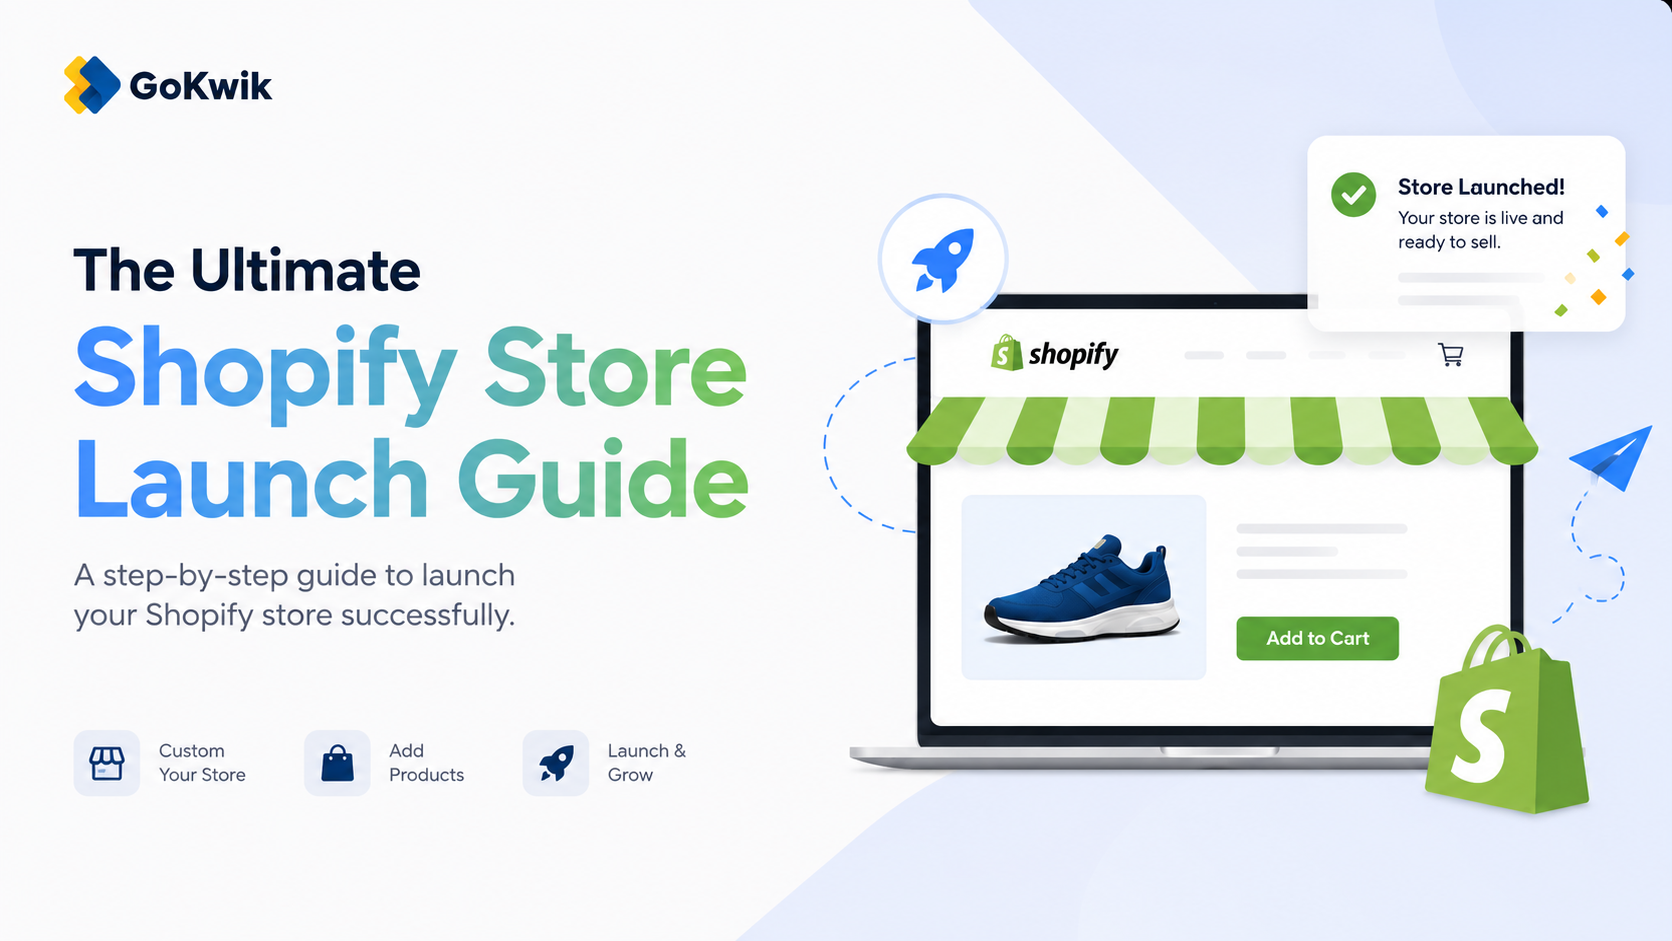
Vardhan leads product and growth initiatives at GoKwik, driving D2C e-commerce innovations, conversion optimization, and scalable growth programs for products. An ISB alumnus based in Bengaluru, he brings expertise from Unacademy, Ola, and Mahindra in building high-impact product strategies.
Read this blog on your favourite platform
You've signed up for Shopify and now you're staring at an empty admin panel wondering where to start. Setting up your store the right way before launch determines how smoothly you'll convert visitors into customers and whether you'll spend weeks fixing basic settings or selling products.
This guide walks you through the exact setup sequence that gets your Shopify store ready to accept orders, from configuring business settings to testing checkout flow.
First Steps: Configure Your Store Foundation
Before adding products or customizing your theme, you need to lock in your core business settings. These determine how your store operates, what legal information displays to customers, and how you get paid.
Set Your Business Details
Your business information forms the legal foundation of your store. Go to Settings and complete these essential configurations:
- From your Shopify admin, go to Settings > General.
- In the Store details section, enter your store name. This is what customers see in their browser tab and email notifications.
- Set your Legal business name if it differs from your store name. This appears on invoices and receipts.
- In the Store address section, enter your complete business address. Shopify uses this to calculate tax rates and determine which payment providers are available.
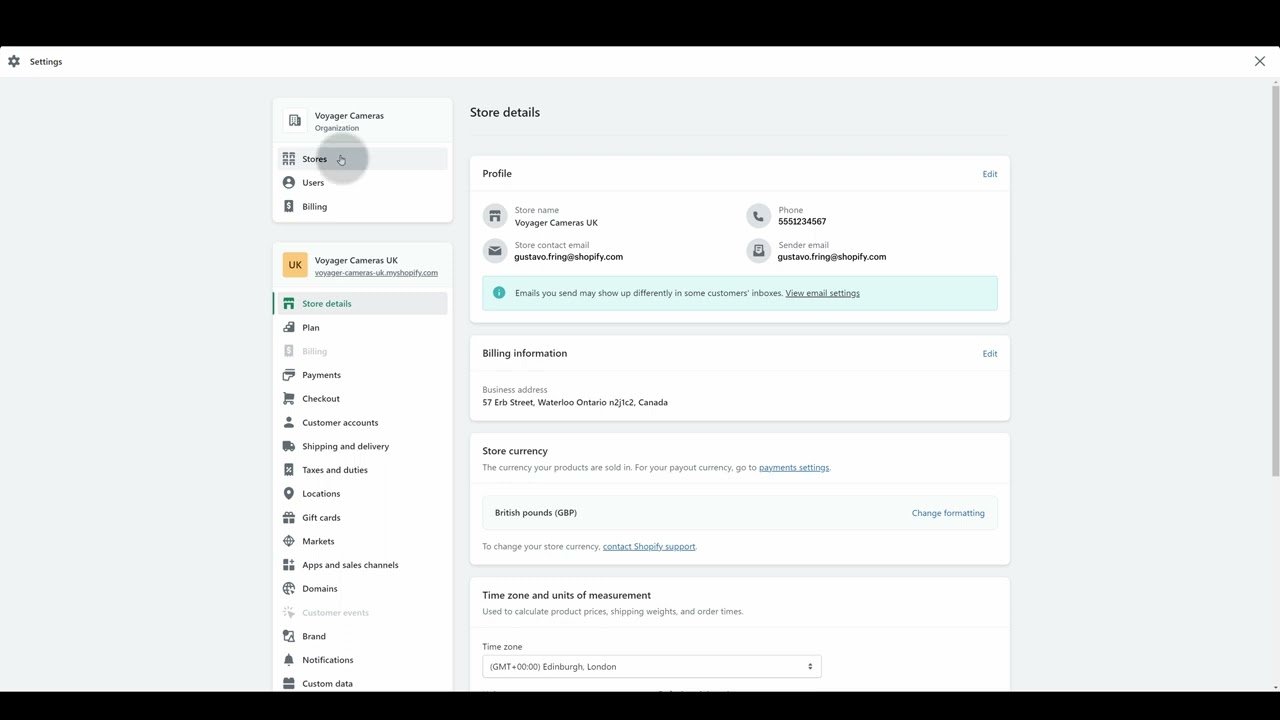
Source: Shopify
- Select your Store currency. You can only set this once, so choose carefully based on where most of your customers are located.
- Choose your Default weight unit for product listings (kg or lb).
- Click Save at the top right.
Configure Your Email Settings
Your store sends automated emails for order confirmations, shipping updates, and password resets. Set up sender information so these emails don't land in spam folders.
- From your Shopify admin, go to Settings > Notifications.
- In the Sender email section, enter the email address you want customers to see as the sender.
- Set up email authentication by adding SPF and DKIM records to your domain. This significantly improves email deliverability.
Add Your Billing Information
Even during your trial period, add a payment method so your store transitions smoothly when the trial ends.
- From your Shopify admin, go to Settings > Billing.
- In the Payment methods section, click Add payment method.
- Enter your credit card or PayPal information.
- Click Save.
App charges and subscription fees will be billed to this payment method after your trial ends, so keep it current to avoid service interruptions.
Choose or Change Your myshopify.com Domain
Every Shopify store gets a unique myshopify.com domain. You can change this domain name up to two times total.
- From your Shopify admin, go to Settings > General.
- In the Store details section, find your current myshopify.com domain.
- Click Change if you want to update it.
- Enter your new domain name and click Save.
This domain displays in the address bar if customers visit before you connect a custom domain. Choose something that matches your brand name.
Add Your First Product
Products need at least a title and price to save. Start with one product to test how everything displays before bulk uploading your catalog.
- From your Shopify admin, go to Products.
- Click Add product.
- Enter a Title for your product.
- Add a Description that explains what you're selling. Keep important details in the first 2-3 sentences.
- In the Media section, click Add files to upload product images.
- Scroll to Pricing and enter your product Price.
- If you track inventory, scroll to Inventory and enter the quantity available.
- In the Variants section, add size, color, or other options if your product has them.
- Click Save.
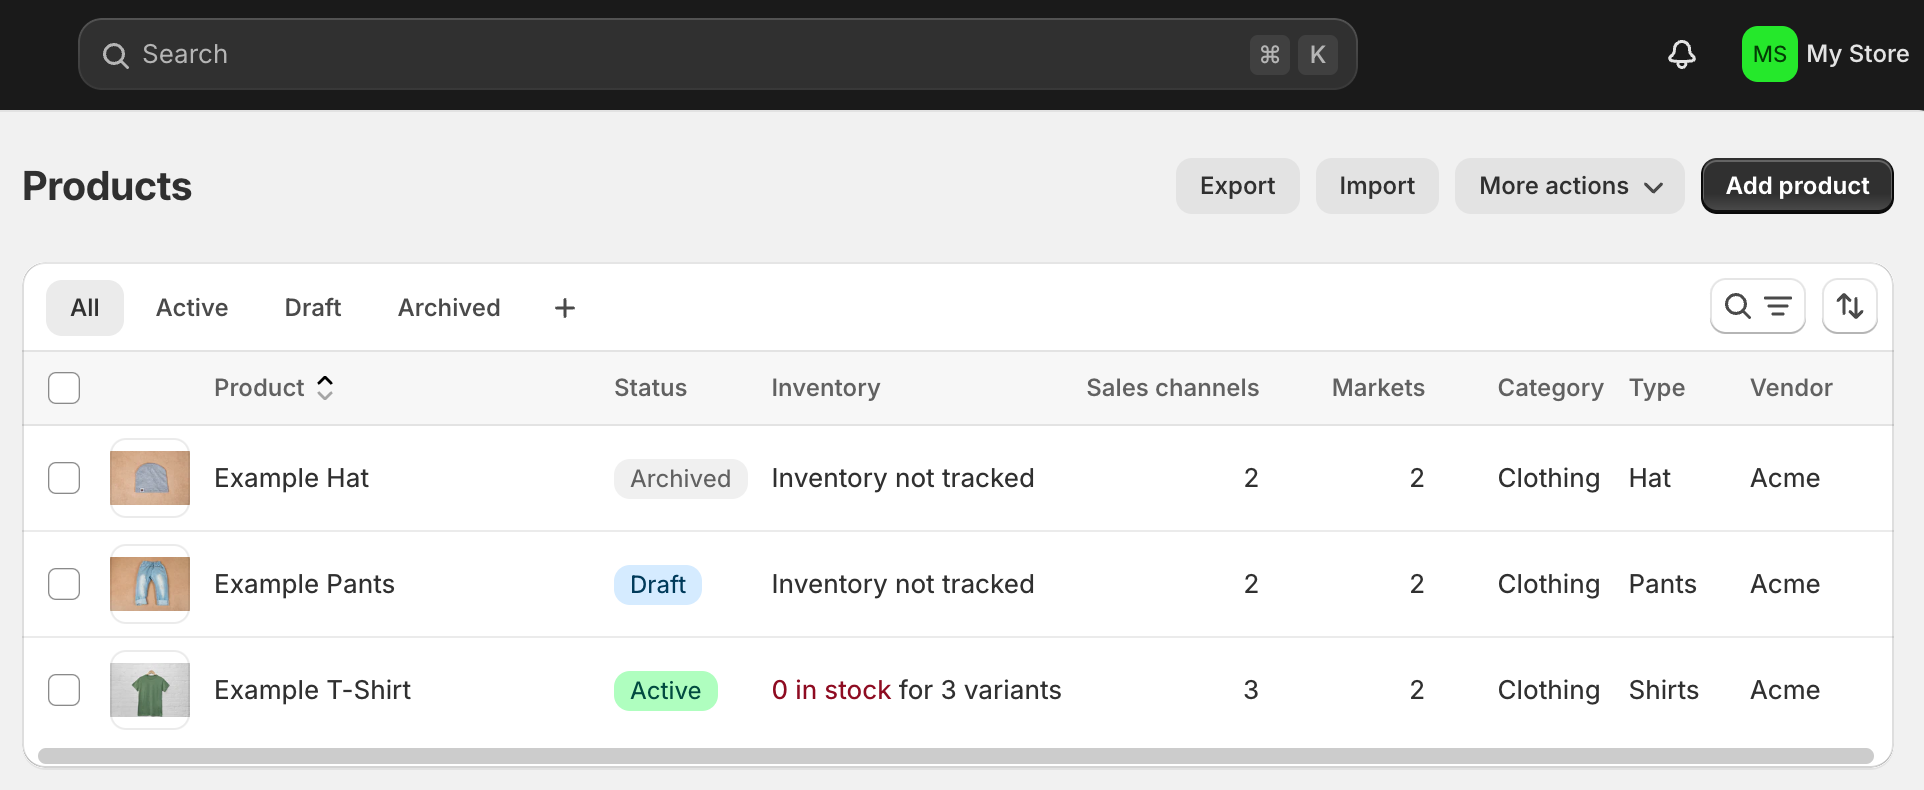
Source: Shopify
You can add up to 250 tags per product to organize your catalog (unlimited on Shopify Plus). Tags help you filter products and build automated collections.
Choose and Customize Your Theme
Your store comes with Dawn, Shopify's default free theme. You can stick with it or choose a different theme before customizing.
Add a Theme from the Theme Store
- From your Shopify admin, go to Online Store > Themes.
- In the Free themes section near the bottom, click Explore free themes.
- Browse available themes and click any theme to preview its styles and features.
- Click Add on the theme you want.
The theme adds to your admin but doesn't publish automatically. This lets you customize it before customers see it.
Customize Your Theme Settings
- From Online Store > Themes, find your new theme in the Theme library section.
- Click Customize to open the theme editor.
- In the left sidebar, click Theme settings at the bottom.
- Customize Colors to match your brand palette.
- Update Typography to select fonts for headings and body text.
- Modify the Layout settings to adjust page width and spacing.
- Click Save in the top right.
Edit the theme's default sections by clicking on any section in the preview and adjusting its content in the left sidebar.
Set Up Your Domain
Your custom domain (like yourstore.com) makes your store look professional and helps with search engine rankings. You have two options: buy a domain through Shopify or connect an existing domain.
Buy a Domain from Shopify
- From your Shopify admin, go to Settings > Domains.
- Click Buy new domain.
- Enter the domain name you want and click Search.
- Select an available domain from the results.
- Review the annual cost and click Buy domain.
- Complete the purchase and domain registration information.
Shopify automatically configures the domain to work with your store. It typically takes a few hours to fully activate.
Connect an Existing Domain
If you already own a domain through another provider like GoDaddy or Namecheap:
- From your Shopify admin, go to Settings > Domains.
- Click Connect existing domain.
- Enter your domain name and click Next.
- Follow the instructions to update your domain's DNS settings at your provider.
- Return to Shopify and click Verify connection.
After connecting your domain, set up email hosting at your custom domain so customers can reach you at support@yourstore.com instead of a generic email address.
Configure Shipping Settings
Shopify needs to know where you ship from and what rates to charge customers at checkout.
- From your Shopify admin, go to Settings > Shipping and delivery.
- In the Shipping section, verify your Ship from address matches where you fulfill orders.
- Click Manage rates in your default shipping zone.
- Click Add rate to create a shipping rate.
- Enter a Rate name (like "Standard Shipping").
- Set your Price for this shipping method.
- Click Done, then Save.
If you offer pickup or local delivery, configure those options in the Local delivery and Local pickup sections on the same page.
Set Up Payment Providers
You need to activate at least one payment provider before customers can complete checkout.
Activate Shopify Payments
Shopify Payments is the easiest option if available in your region. It's built directly into checkout with no transaction fees beyond credit card processing.
- From your Shopify admin, go to Settings > Payments.
- In the Shopify Payments section, click Complete account setup.
- Enter your business details, bank account information, and tax ID.
- Review and accept the terms of service.
- Click Save.
Add Alternative Payment Methods
Beyond credit cards, you can offer Apple Pay, Google Pay, and PayPal to increase conversion rates.
- Stay on Settings > Payments.
- Scroll to Additional payment methods.
- Click Add payment method.
- Select the provider you want to add and follow setup instructions.
- Click Activate when complete.
Alternative payment methods appear at checkout alongside credit card options.
Configure Tax Settings
Shopify automatically calculates taxes based on your store address and where you ship products. Review these settings to ensure compliance.
- From your Shopify admin, go to Settings > Taxes and duties.
- Verify your Country/region matches where your business is registered.
- Review the Tax regions section to see where you're collecting taxes.
- Click Collect sales tax if you need to add a tax region where you have nexus.
- If you sell in the European Economic Area, enable the European Pricing Indication Directive compliance settings.
If you have complex tax requirements or sell in multiple countries, consider consulting a tax professional to configure advanced settings.
Create Your Store Policies
Store policies build trust with customers and protect your business. Shopify generates template policies you can customize.
- From your Shopify admin, go to Settings > Policies.
- Click Create from template for Refund policy.
- Review the generated policy and edit it to match your actual return process.
- Repeat for Privacy policy, Terms of service, and Shipping policy.
- Click Save for each policy.
Link to these policies from your checkout page and store footer so customers can easily find them.
Set Up Customer Accounts
Decide whether customers need to create accounts to shop at your store or can checkout as guests.
- From your Shopify admin, go to Settings > Checkout.
- Scroll to Customer accounts.
- Select one of these options:
- Accounts are optional: Customers can create accounts but aren't required to
- Accounts are required: Customers must create an account before purchasing
- Accounts are disabled: Customers can only check out as guests
Most D2C stores choose Accounts are optional to reduce friction at checkout while still enabling repeat customers to save their information.
Customize Your Checkout
The checkout page is where customers complete their purchase. Customize it to build trust and reduce abandonment.
- From your Shopify admin, go to Settings > Checkout.
- In the Customer contact section, choose whether to collect email, phone, or both.
- Scroll to Form options and decide which fields are required at checkout.
- In Order processing, add any disclaimers or important information customers should see.
- Configure Marketing opt-in settings if you want to grow your email list at checkout.
- Click Save.
Add Staff Members if Needed
If you have team members who need access to manage products, orders, or other store functions, add them as staff.
- From your Shopify admin, go to Settings > Users and permissions.
- Click Add staff.
- Enter their email address.
- Select their Role and specific permissions.
- Click Send invite.
They'll receive an email invitation to create their login credentials. You can add different permission levels depending on what each team member needs to access.
Test Your Checkout Process
Before removing your password protection and launching, place test orders to verify everything works correctly.
- From your Shopify admin, go to Settings > Payments.
- In the Shopify Payments section, enable Test mode.
- Open your online store in a new browser window.
- Add a product to cart and proceed to checkout.
- Use Shopify's test credit card numbers to complete a test transaction.
- Verify you receive the order confirmation email.
- Check your Shopify admin to see if the order appears correctly.
- Return to Settings > Payments and disable Test mode.
Testing catches configuration issues before real customers encounter them. Place 2-3 test orders using different payment methods and shipping addresses.
Install Essential Apps
The Shopify App Store offers thousands of apps that extend your store's functionality. Install a few essential apps before launch based on your business needs.
Browse the Shopify App Store carefully. Each app adds loading time to your store and some charge monthly fees. Start with 3-5 essential apps rather than installing everything at once.
Preview Your Store Before Launch
Your store remains password-protected until you manually remove the password. Use this time to preview how everything looks to customers.
- From your Shopify admin, hover over Online Store in the Sales channels section.
- Click the eye icon that appears.
- Your store opens in a new tab showing the customer view.
- Navigate through your homepage, product pages, and collections.
- Check that images load correctly and text is readable on mobile devices.
- Verify your domain, logo, and branding display as expected.
Make a checklist of any issues you spot and fix them before removing the password.
Remove Password Protection to Launch
When you're ready to open your store to customers, remove the password protection.
- From your Shopify admin, go to Online Store > Preferences.
- Scroll to the Password protection section.
- Uncheck Enable password.
- Click Save.
Your store is now live and accessible to anyone with your domain name. This is the official launch moment.
💡Tip from Reddit Conversations:
“Many Reddit merchants recommend setting up a basic Google Analytics 4 property before launch, even if you don't fully understand it yet. One merchant explained: "I launched without analytics and had no idea where my first sales came from or which products people actually looked at. By the time I added tracking two weeks later, I'd lost valuable data about what was working. Just install the tracking code during setup. You can learn how to read the reports later, but you can't recover data you never collected."
Frequently Asked Questions
How long does it take to set up a Shopify store before launch?
Most merchants complete basic setup in 1-3 days, including configuring business settings, adding initial products, customizing a theme, and testing checkout. More complex stores with hundreds of products or custom functionality might take 1-2 weeks. Focus on getting the essentials right rather than

AUTHOR
Vardhan Jain
Director of Product Program @ GoKwik