|
Record type |
What it does |
|
CNAME (handles SPF + DKIM) |
Authorizes Shopify to send email on your behalf and digitally signs your messages to verify they haven't been altered |
|
DMARC |
Instructs email providers on what to do if SPF or DKIM checks fail |
How KwikAds helped Shop Unrush boost ROAS by 37% in 3 months
How KwikAds helped Shop Unrush boost ROAS by 37% in 3 months
How KwikAds helped Shop Unrush boost ROAS by 37% in 3 months
How KwikAds helped Shop Unrush boost ROAS by 37% in 3 months
Shopify
How to Set Up Email on Shopify: Complete Setup Guide for Store Owners in 2026
 08 Jun 2026
 08 Min Read
Atul leads marketing at GoKwik, championing D2C brand building, growth strategies, scalable GTM for e-commerce, and data-driven customer acquisition. A former Amazon leader and IIFT MBA alumnus based in Bengaluru, he brings 15+ years scaling business across e-commerce, and fintech.
Read this blog on your favourite platform
If you're running a Shopify store, setting up professional email is critical for order notifications, customer communication, and marketing campaigns. You have two main decisions: configuring your sender email for transactional messages and setting up email hosting for custom domain addresses.
This guide walks you through both paths so you can choose what fits your business stage and communication needs.
What Email Setup Actually Means on Shopify
Shopify handles two different types of email, and each requires its own setup:
- Transactional email: Order confirmations, shipping updates, and customer notifications sent automatically by Shopify. These come from your store's sender email address.
- Marketing email: Campaigns you create and send through Shopify Messaging or external tools to promote products and engage customers.
- Custom email hosting: Your own email inbox using your domain (like support@yourstore.com) for direct customer communication.
Most merchants need all three working together, but the setup order matters.
Before You Start: Requirements Checklist
Your store must meet these conditions before you can fully configure email:
- Active paid Shopify subscription plan (Basic, Grow, Advanced, or Shopify Plus)
- Online Store sales channel installed
- Payment provider configured
- Store complies with Shopify's Terms of Service and Acceptable Use Policy
If you're still on a trial plan, you can configure settings but emails won't send until you activate a paid plan.
Option 1: Set Up Your Sender Email for Transactional Messages
Your sender email appears in the "From" field when Shopify sends order confirmations and notifications to customers. This is the first email setup you should complete.
Steps to Configure Your Sender Email
- From your Shopify admin, go to Settings > Notifications.
Source: Shopify
- Scroll to the Store contact information section.
- In the Sender email field, enter the email address you want customers to see when they receive store notifications.
- Click Save in the top right corner.
Sender Email Best Practices
Use an email address you actively monitor. Customers often reply to order confirmations with questions.
Choose a professional address that matches your domain once you have one (orders@yourstore.com works better than yourname@gmail.com).
Avoid using no-reply addresses. They hurt deliverability and make your brand feel impersonal.
Also, once your sender email is set, you should also authenticate your domain. From Settings > Notifications, click 'Authenticate your domain' and add the CNAME records Shopify provides to your DNS settings. This prevents your sender address from being rewritten to a generic store+123@shopifyemail.com address.
Good to know: Shopify's CNAME records handle SPF automatically. You do not need to add a separate SPF TXT record.
Option 2: Install and Configure Shopify Messaging for Marketing Emails
Shopify Messaging is installed by default on most stores. Before sending marketing campaigns, you must verify your sender email.
Steps to Set Up Shopify Messaging
- From your Shopify admin, go to Apps > Shopify Messaging.
If you don't see the app, go to the Shopify App Store, search for "Shopify Messaging," and click Add app > Install app.
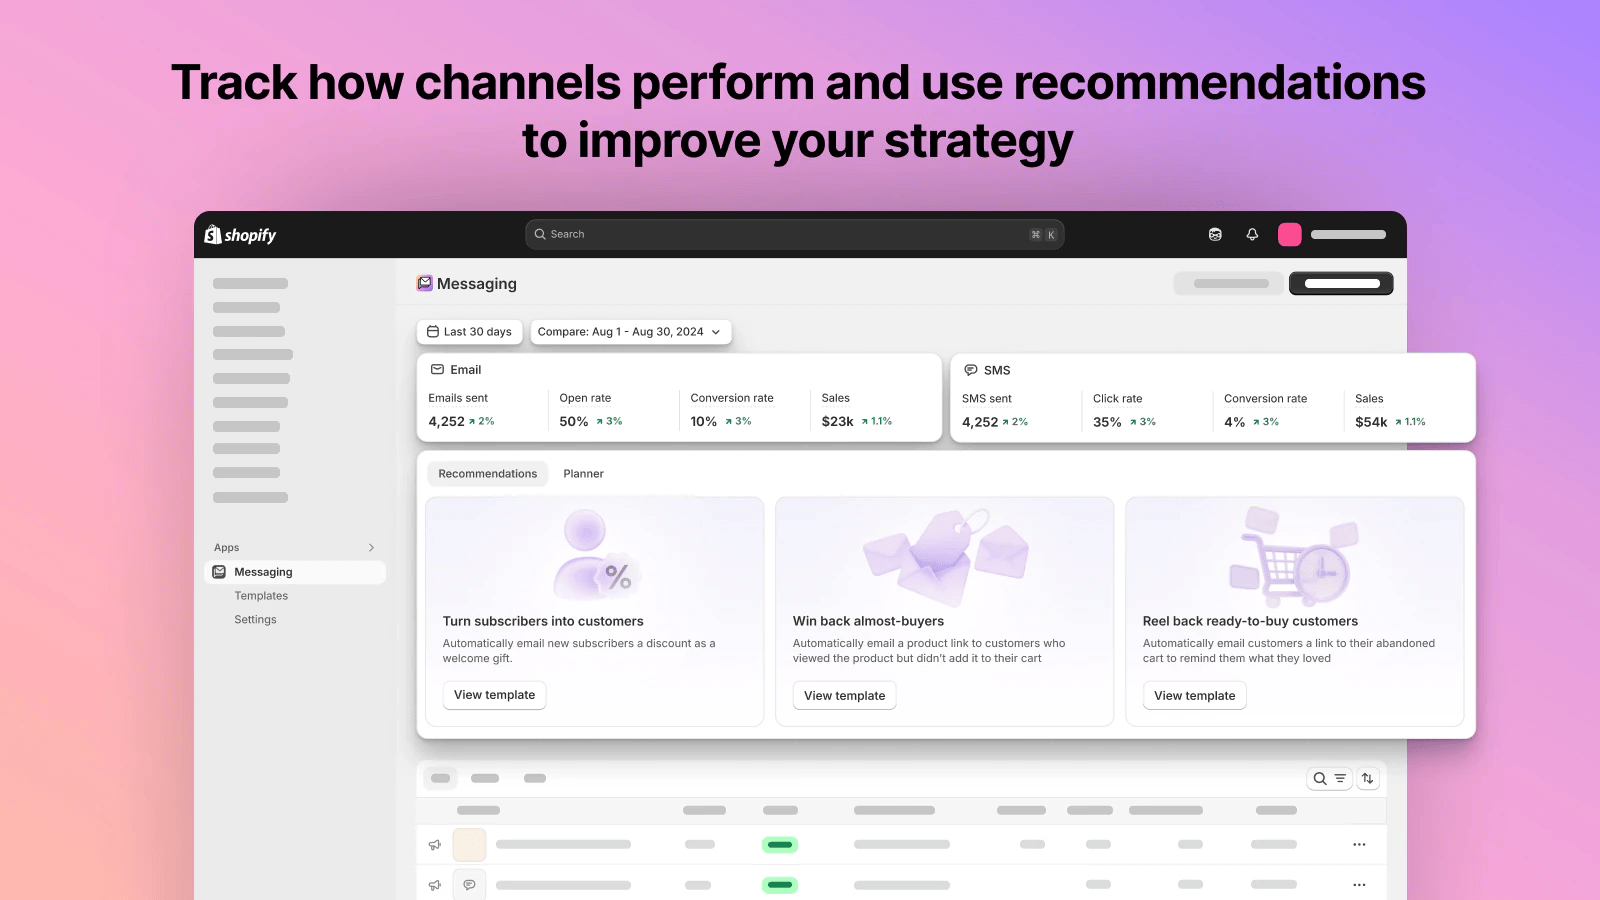 Source: Shopify
- In Shopify Messaging, navigate to email settings to confirm or change your sender email address.
- Verify the email address by clicking the confirmation link sent to that inbox.
- Once verified, you can create and schedule email marketing campaigns to your subscriber list.
Option 3: Set Up Email Hosting for Custom Domain Addresses
Email hosting lets you send and receive email from addresses using your custom domain. This requires you to already own a domain connected to your Shopify store.
If you don't have a custom domain yet, you need to either buy one through Shopify or connect an existing domain first.
When to Set Up Email Hosting
|
Business stage |
Recommended approach |
|
Just starting, using myshopify.com domain |
Wait until you add a custom domain |
|
Have custom domain, low order volume |
Set up basic email forwarding |
|
Growing store, handling customer support |
Set up full email hosting through third-party provider |
|
High volume, multiple team members |
Use business email service (Google Workspace, Microsoft 365) |
Steps to Set Up Email Hosting
- From your Shopify admin, go to Settings > Domains.
- Click the domain where you want to set up email hosting.
- Review the Email hosting section to see available options.
- Follow the setup steps for your chosen email provider (Shopify will provide specific DNS records you need to configure).
Shopify doesn't provide email hosting directly. You'll need to use a third-party service and connect it using DNS records.
Most merchants use Google Workspace or Microsoft 365 for professional email hosting. Both integrate well with Shopify and provide reliable delivery.
Marketing Email Pricing
Shopify Messaging pricing is based on how many emails you send:
- First 10,000 emails per month: Free
- Additional emails: $1 per 1,000 emails sent
This applies to Basic, Grow, Advanced, and Shopify Plus plans.
Email Forwarding vs Full Hosting: What's the Difference
Email forwarding receives messages sent to your custom domain address and automatically forwards them to another email you already use (like Gmail). You can't send from the custom address.
Full email hosting gives you a complete inbox where you can send and receive messages directly from your custom domain address. This looks more professional to customers.
Start with forwarding if you're testing your domain setup. Upgrade to full hosting once you're handling regular customer communication.
Common Mistakes That Break Email Setup
Not verifying sender email: Shopify Messaging won't send campaigns until you click the confirmation link in the verification email.
Using personal email for high-volume sending: Gmail and other personal providers often block or limit bulk sending. Use proper email hosting for customer communication at scale.
Ignoring DNS propagation time: After setting up email hosting with DNS records, changes can take 24-48 hours to fully propagate. Don't panic if it doesn't work immediately.
Mixing up sender email and email hosting: These are separate settings. Sender email controls what customers see in notifications. Email hosting controls where messages to your domain actually go.
How to Test Your Email Setup
After configuration, send test messages to verify everything works:
- Place a test order in your store and confirm you receive the order notification at your sender email address.
- Have someone send an email to your custom domain address and verify it arrives in your inbox or forwarded destination.
- Send a test marketing campaign from Shopify Messaging to yourself to check formatting and delivery.
Resending Email Notifications to Customers
If a customer didn't receive their order email, you can resend it:
- From your Shopify admin, go to Orders.
- Click the order number.
- In the Timeline section, click Resend email under the notification you want to send again.
- Choose to resend to the customer or send a copy to yourself.
- Click Send.
💡Tip from Reddit Conversations:
Many Shopify store owners recommend setting up Google Workspace from day one, even if you're small. This prevents confusion when customers reply to order emails, and Gmail's spam filters actually recognize your domain faster when you're sending from proper business email hosting rather than free accounts.
Frequently Asked Questions
What Next?
Go to Settings > Notifications in your Shopify admin right now and verify your sender email is configured correctly. If you already have a custom domain, review your email hosting options and choose a provider to set up professional business email this week.

AUTHOR
Atul Bansal
Head of Marketing