How KwikAds helped Shop Unrush boost ROAS by 37% in 3 months
How KwikAds helped Shop Unrush boost ROAS by 37% in 3 months
How KwikAds helped Shop Unrush boost ROAS by 37% in 3 months
How KwikAds helped Shop Unrush boost ROAS by 37% in 3 months
Shopify
How to Move Your Offline Business Online with Shopify
 08 Jun 2026
 09 Min Read
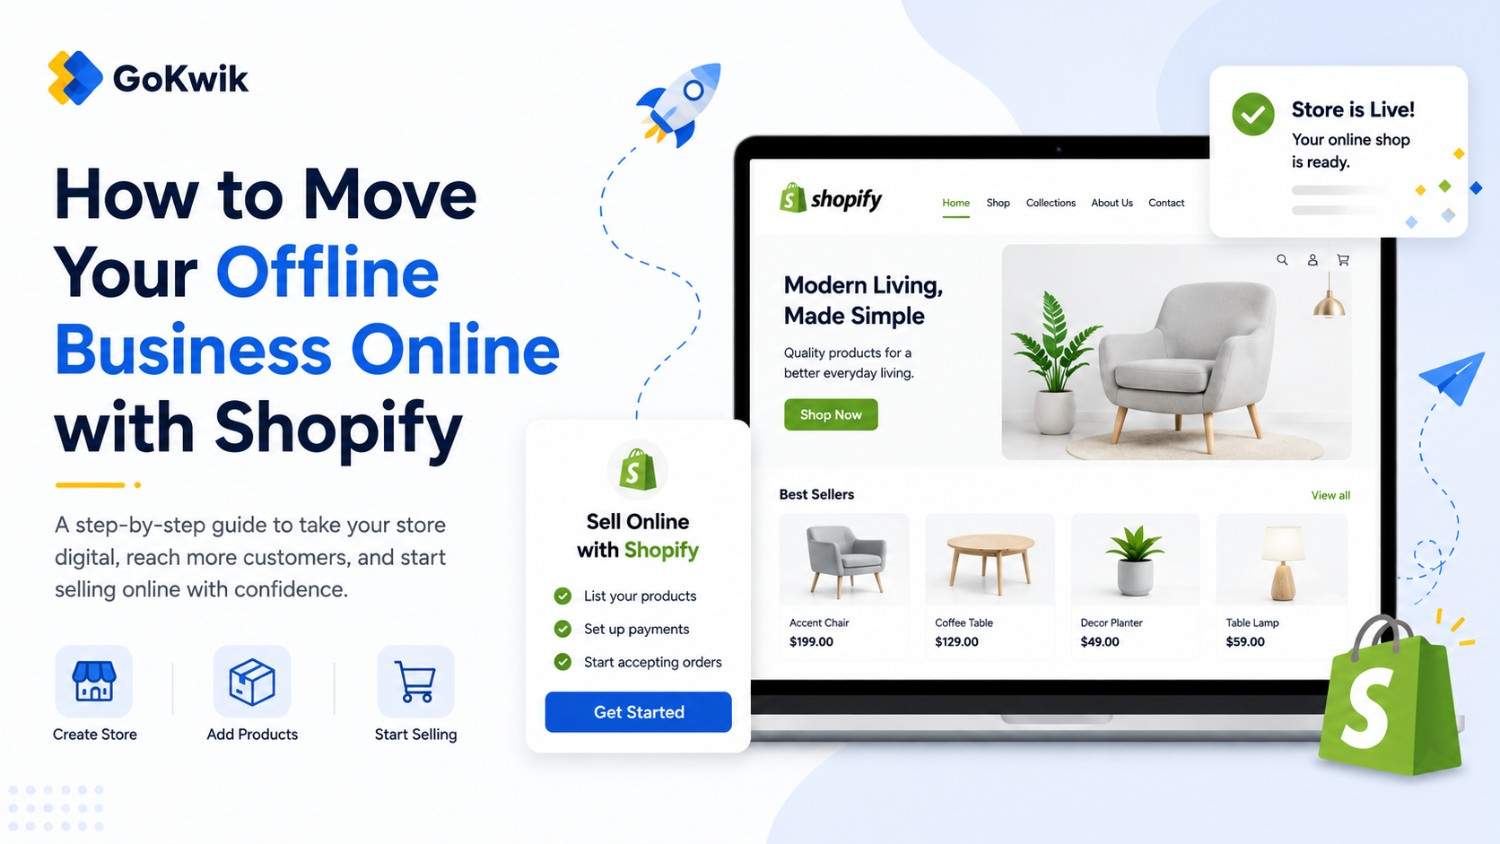
Parousia leads product marketing strategies at GoKwik, and she is an expert in driving e-commerce optimisation, conversion growth, and innovative GTM strategies. She crafts compelling messaging and creates content pertaining to D2C commerce.
Read this blog on your favourite platform
When your customers can't shop in person, moving online gives them another way to purchase and engage with your business. This guide walks you through launching your Shopify store, adding products, setting up payments, and going live so you can start selling online without losing what makes your offline business unique.
Who This Guide Is For
This article is for offline businesses ready to sell online, including retail stores, restaurants offering pickup or delivery, service-based businesses adding products, and any merchant who needs a practical path from physical-only to online sales.
Step 1: Start Your Shopify Store with a Free Trial
Visit shopify.com to create your online store. Answer a few questions about your business, then enter your email and password.
Your temporary business name is set as "My Store" and Shopify generates a default URL automatically. This URL is what customers will use to access your store. After you start your trial, you can change your store name and purchase or connect an existing domain for your default URL.
Trial duration note: The Shopify free trial lasts 3 days. After the trial ends, you can continue building your store for your first month at $1 before your full plan pricing begins. Plan your product photography, descriptions, and settings work to fit within this window.
_1780390625.png)
Source: Shopify
Step 2: Configure Your Store's Basic Settings
Before adding products, set up essential store information in your Shopify admin.
Set your business name and legal name:
Go to Settings > General. Update your store name and set your store's legal business name for invoices and legal documents.
Go to Settings > General. Update your store name and set your store's legal business name for invoices and legal documents.
_1780390625.jpg)
Source: Shopify
Add your business address:
In Settings > General, enter your complete business address. This appears on invoices and affects tax calculations.
In Settings > General, enter your complete business address. This appears on invoices and affects tax calculations.
Set your store currency:
In Settings > General, select a default currency for your store listings. This determines how prices display to customers.
In Settings > General, select a default currency for your store listings. This determines how prices display to customers.
Set default weight unit:
Choose between pounds or kilograms in Settings > General. This affects shipping calculations for all products.
Choose between pounds or kilograms in Settings > General. This affects shipping calculations for all products.
Configure your email settings:
Set up your sender email and email authentication in Settings > Notifications. This ensures your order confirmations and customer emails look professional and don't land in spam folders.
Set up your sender email and email authentication in Settings > Notifications. This ensures your order confirmations and customer emails look professional and don't land in spam folders.
Step 3: Add Your Products Online
When posting products online, customers need much more information than they would in person because they can't interact with your products physically. Write descriptive titles, accurate descriptions, and use clear pictures.
There are different ways to get products into Shopify depending on your situation:
Option 1: Add products directly in Shopify admin
Go to Products > Add product. Enter product title, description, price, images, and inventory. Use this method if you have fewer than 20 products or want full control over each listing.
Go to Products > Add product. Enter product title, description, price, images, and inventory. Use this method if you have fewer than 20 products or want full control over each listing.
_1780390625.png)
Source: Shopify
Option 2: Import products in bulk using CSV
Download the product CSV template from Shopify, fill it with your product data, then upload it in Products > Import. This works best if you have 20+ products or existing product data in spreadsheets.
Download the product CSV template from Shopify, fill it with your product data, then upload it in Products > Import. This works best if you have 20+ products or existing product data in spreadsheets.
Option 3: Import from third-party POS software
If your products exist in third-party POS software, import them using the all-new Shopify POS. This maintains your existing product structure and inventory counts.
If your products exist in third-party POS software, import them using the all-new Shopify POS. This maintains your existing product structure and inventory counts.
Step 4: Organize Products into Collections
After adding products, organize them into collections. Collections let you highlight certain products on different pages, apply discount codes to specific groups, or feature products on your homepage.
Go to Products > Collections > Create collection. Name your collection, add products manually or use automated conditions, and choose where to display it on your store.
Step 5: Add Gift Cards for Quick Revenue
Gift cards give your business a fast way to generate online revenue while you build out your full product catalog. Customers purchase gift cards delivered by email, which they can redeem at checkout when you launch new products or offer local delivery and pickup.
By default, gift cards never expire. Set them up in Products > Gift cards.
Step 6: Choose and Customize Your Theme
Your homepage is usually the first page people see when they find your business online. Choose a theme that reflects your brand and showcases your products effectively.
Go to Online Store > Themes. Browse free and paid themes from the Shopify Theme Store. Preview themes before publishing to ensure they support your content needs.
After selecting a theme, click Customize to edit your homepage. Add your branding, highlight key products, include special offers, and display important information customers need to know.
Industry-specific themes:
If you select "Restaurants" as your industry during store creation, Shopify adds the Crave theme automatically. Crave is designed to get you online quickly even with limited product photography or small inventory, with mobile-optimized layouts and accelerated checkout options.
If you select "Restaurants" as your industry during store creation, Shopify adds the Crave theme automatically. Crave is designed to get you online quickly even with limited product photography or small inventory, with mobile-optimized layouts and accelerated checkout options.
Step 7: Create Essential Custom Pages
Each product and collection automatically gets its own page, but you need to manually set up your homepage and additional pages.
Go to Online Store > Pages > Add page to create custom pages. Many businesses include these pages:
- About Us: Tell your brand story and what makes your offline business special
- Contact Us: Provide phone, email, and location information
- FAQ: Answer common questions about ordering, returns, and your products
Step 8: Configure Shipping Settings
Set up how you'll fulfill online orders. Go to Settings > Shipping and delivery to configure shipping rates, zones, and delivery methods.
Local pickup and delivery:
If you want customers to pick up orders at your physical location or offer local delivery, configure these options in Settings > Shipping and delivery > Local delivery and Local pickup. This works well for restaurants and local retailers transitioning online.
If you want customers to pick up orders at your physical location or offer local delivery, configure these options in Settings > Shipping and delivery > Local delivery and Local pickup. This works well for restaurants and local retailers transitioning online.
Step 9: Set Up Payment Providers
Configure how you'll accept online payments. Go to Settings > Payments to activate payment providers.
Shopify Payments is the recommended option because it's built into your admin, has no additional transaction fees, and supports all major payment methods. You can also add alternative providers if needed for your market.
Shopify Payments availability: Shopify Payments is available to merchants in supported countries including the US, Canada, UK, Australia, and others. If your business is in a country where Shopify Payments isn't available, you'll need to connect a third-party payment gateway instead.
Step 10: Set Up Customer Accounts
Decide whether customers need accounts to make purchases. Go to Settings > Customer accounts to choose between optional accounts, required accounts, or no accounts.
Most offline businesses moving online benefit from optional accounts, which let customers save their information for faster checkout while not forcing account creation.
Step 11: Add Your Store Policies
Display store policies and legal information before launch. Go to Settings > Policies to add refund policy, privacy policy, terms of service, and shipping policy.
These policies build trust with online customers who can't visit your physical location. They also protect your business legally.
Step 12: Test Your Store Before Launch
Before removing your password protection, place test orders to review the checkout process.
Go to Settings > Payments and enable Shopify Payments test mode. Place several test orders using different payment methods and shipping options to confirm everything works correctly.
Step 13: Set Up Your Custom Domain
Your default Shopify URL (yourstore.myshopify.com) works, but a custom domain looks more professional. Go to Settings > Domains to purchase a new domain through Shopify or connect an existing domain you own.

Source: Shopify
Step 14: Remove Password Protection and Launch
When you're ready to go live, remove your store's password protection. Go to Online Store > Preferences, scroll to Password protection, and uncheck "Enable password." Click Save.
Your store is now live and customers can place orders.
Step 15: Promote Your New Online Store
Email your existing customers:
If you have customer email addresses from your offline business, send an announcement that you're now accepting online orders.
If you have customer email addresses from your offline business, send an announcement that you're now accepting online orders.
Update your social media:
Post on all social media channels that your online store is live. Include your store URL and highlight what customers can purchase.
Post on all social media channels that your online store is live. Include your store URL and highlight what customers can purchase.
Add signage to your physical location:
If you still operate a physical location, display your website URL prominently on windows, receipts, business cards, and shopping bags.
If you still operate a physical location, display your website URL prominently on windows, receipts, business cards, and shopping bags.
Explore marketing apps:
Visit the Shopify App Store to find marketing apps that help you set goals and automate customer outreach.
Visit the Shopify App Store to find marketing apps that help you set goals and automate customer outreach.
Consider local advertising:
Advertise in your local area through radio, local blogs, or social media ads targeted to your city or town. This works especially well for restaurants and service businesses with delivery or pickup options.
Advertise in your local area through radio, local blogs, or social media ads targeted to your city or town. This works especially well for restaurants and service businesses with delivery or pickup options.
💡Tip from Reddit Conversations:
“Many offline store owners on Reddit warn about underestimating shipping costs when pricing products online. One merchant shared that they calculated shipping based on their largest box size, then found most orders used smaller packages, allowing them to pocket the difference as extra margin. Another merchant did the opposite-used average package size for calculations-and lost money on every third order when shipping heavier items. The workaround that worked: create shipping profiles in Shopify for light, medium, and heavy items, then assign products to the correct profile so customers pay accurate shipping costs, and you don't lose margin on fulfilment.”
Frequently Asked Questions
Do I need technical skills to set up a Shopify store?
No technical skills required. Shopify's admin interface walks you through each setup step, and themes handle all design and layout automatically. You can launch a functional store in a few hours without touching any code.
No technical skills required. Shopify's admin interface walks you through each setup step, and themes handle all design and layout automatically. You can launch a functional store in a few hours without touching any code.
Should I close my physical location while setting up online?
No. You can set up and test your Shopify store while keeping your physical location open. Use password protection during setup so customers can't access your incomplete store, then remove it when ready to launch.
No. You can set up and test your Shopify store while keeping your physical location open. Use password protection during setup so customers can't access your incomplete store, then remove it when ready to launch.
Can I use the same prices online as in my physical store?
Yes, most businesses use identical pricing online and offline. However, you may need to add shipping costs or adjust for delivery fees depending on your fulfillment method. Review whether your margins support online shipping before finalizing prices.
Yes, most businesses use identical pricing online and offline. However, you may need to add shipping costs or adjust for delivery fees depending on your fulfillment method. Review whether your margins support online shipping before finalizing prices.
How do I handle inventory if I sell both online and in person?
Shopify POS lets you sync inventory between online and physical sales if you use Shopify's point of sale system. Otherwise, manually track inventory sold in person and update your online quantities in Products > Inventory to prevent overselling.
Shopify POS lets you sync inventory between online and physical sales if you use Shopify's point of sale system. Otherwise, manually track inventory sold in person and update your online quantities in Products > Inventory to prevent overselling.
What if I only want to offer local pickup, not shipping?
Disable shipping zones in Settings > Shipping and delivery, then enable only Local pickup. Customers in your area can order online and collect purchases at your physical location without you handling any shipping logistics.
Disable shipping zones in Settings > Shipping and delivery, then enable only Local pickup. Customers in your area can order online and collect purchases at your physical location without you handling any shipping logistics.
Next Step
Start your free trial at shopify.com today, add your first 5-10 products, and place a test order to see how your online store works before going live.

AUTHOR
Parousia Khan
Senior Product Marketing Manager @GoKwik